Step by Step..
I used illustrator to work and create my timeline, adding the different layers. I used the shape tool and dragged each shape into place to try and recreate a converse shoe. I added text and rotated it to fit into place. The to finish I used the paint brush tool to smoothen out in some places.

This is my finished work..
I have chosen the brand Converse for my project; so i have designed my timeline in the shape of the shoe and added different information next to the different logos. I like the way I managed to add all the different layers, and the way the shoe laces cross over! I think I did it quite creatively, giving the different shades of colors, like the white and grey. I have used the colours of the latest converse shoe logo.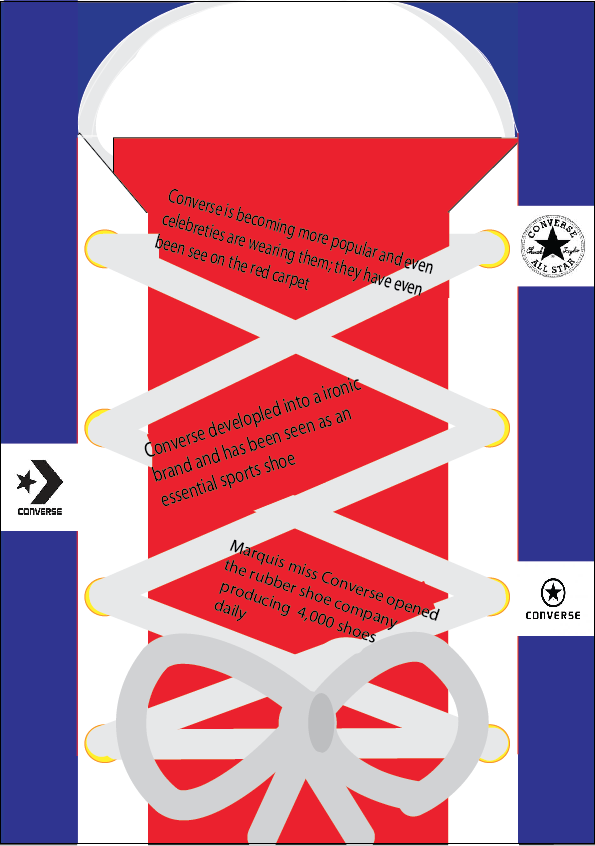
My Poster..
This is my poster and used Photoshop to add in my timeline into one of the rooms in the branding and advertising museum. I'm sure this poster would attract the younger audience, because most teenagers wear the brand converse as a shoe, they may be interested in the different logos they had, where as some adults may be interested in the information of it all!

Next steps..
Next time I can maybe curve the sides of the shoe, and maybe shade one side a darker colour to give it a 3D effect. I can add in the dates on the shoelace of what year I'm writing about. I could even incorporate a picture of shoelaces and composite them onto the shoe!
No comments:
Post a Comment